How to Install Business Window Decals
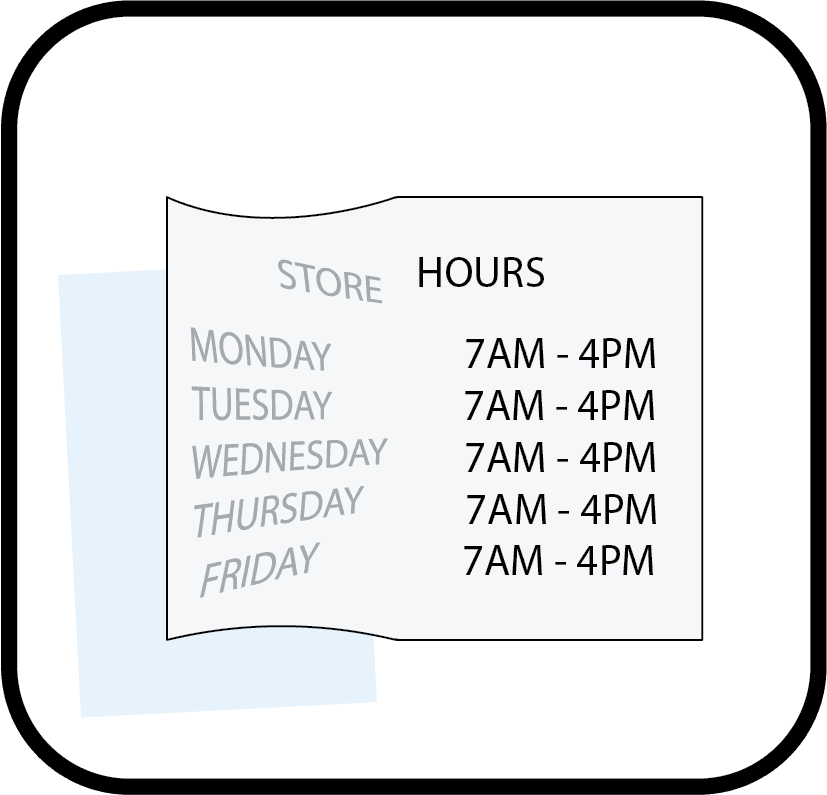
Store hours and business decals have to go on perfectly straight — so instead of trusting a freehand placement, use the masking-tape hinge method: tape the decal in position, then apply it one half at a time. Nine illustrated steps below.
Last updated
What you'll need
- —Masking tape or painter’s tape
- —A squeegee or credit card
- —Scissors
- —Glass cleaner and a lint-free cloth
- —A tape measure and level for larger signs
The hinge method, step by step

1. Position the decal and tape a hinge
Clean the glass and let it dry, then hold the decal exactly where you want it — measure and check that it sits level. Run a strip of masking tape vertically down the center, sticking it to both the decal and the glass. This tape hinge locks in your placement so nothing shifts while you work one half at a time.

2. Fold one half back and peel the backing
Fold one half of the decal back over the tape hinge, like turning a page. Peel the paper backing away from that half slowly, all the way up to the hinge. Only the vinyl and the clear application tape should remain on the folded half.

3. Cut away the loose backing
With the half still folded back, cut the peeled backing paper off along the hinge line with scissors. Cut only the backing — keep the blades clear of the vinyl and application tape.

4. Squeegee the first half onto the glass
Lower the exposed half onto the glass and squeegee it down, working from the tape hinge outward toward the edge in overlapping strokes, top to bottom. Pushing from the center out drives air ahead of the vinyl instead of trapping it.
5. Remove the tape and remaining backing
Peel off the masking-tape hinge, then gently fold the unapplied half away from the glass and peel off the remaining backing paper.

6. Squeegee the second half
Lower the second half onto the glass and squeegee slowly from the center out to the opposite edge, again in overlapping top-to-bottom strokes.

7. Go over the whole decal
With everything down, squeegee firmly over the entire decal through the application tape — every letter and edge. This final pass bonds the vinyl to the glass so it stays behind when the tape comes off.

8. Peel the application tape
Starting at a top corner, peel the application tape back slowly at a sharp angle, folding it against itself rather than pulling straight off the glass. If any lettering lifts with the tape, lay it back down, squeegee that spot again, and continue.

9. Done
Only the vinyl remains — crisp, straight store hours. Avoid washing the glass for 24 hours while the adhesive fully cures.
Window Decal Questions
Which side of the glass does a store hours decal go on?
Standard store hours decals apply to the outside of the glass, facing the street. If you ordered a front-adhesive decal, it installs from the inside of the window and reads correctly from outside — the same hinge method works for both.
Why use the tape hinge method?
Vinyl lettering bonds on contact, so there are no second chances on placement. The hinge holds the decal in its exact final position while you expose and apply one half at a time, which keeps multi-line text like store hours perfectly straight and level.
What if letters lift when I remove the application tape?
Lay the tape back down over the lifting letters, squeegee firmly over that area, and wait a minute before peeling again — slowly and folded back against itself. In cold weather, warming the glass slightly with a hair dryer helps the adhesive grab.
How do I remove old store hours from a window?
Warm the old vinyl with a hair dryer for 30–60 seconds, lift a corner with a fingernail or plastic scraper, and peel it away at a low angle. Wipe off any leftover adhesive with rubbing alcohol, and the glass is ready for your new hours.
Need new hours for your door? Order custom vinyl lettering or start any custom sticker order.
More installation guides
How to Install Vinyl Decals·How to Install Static Window Clings·StickerGal's Guide to Vinyl