
The short answer
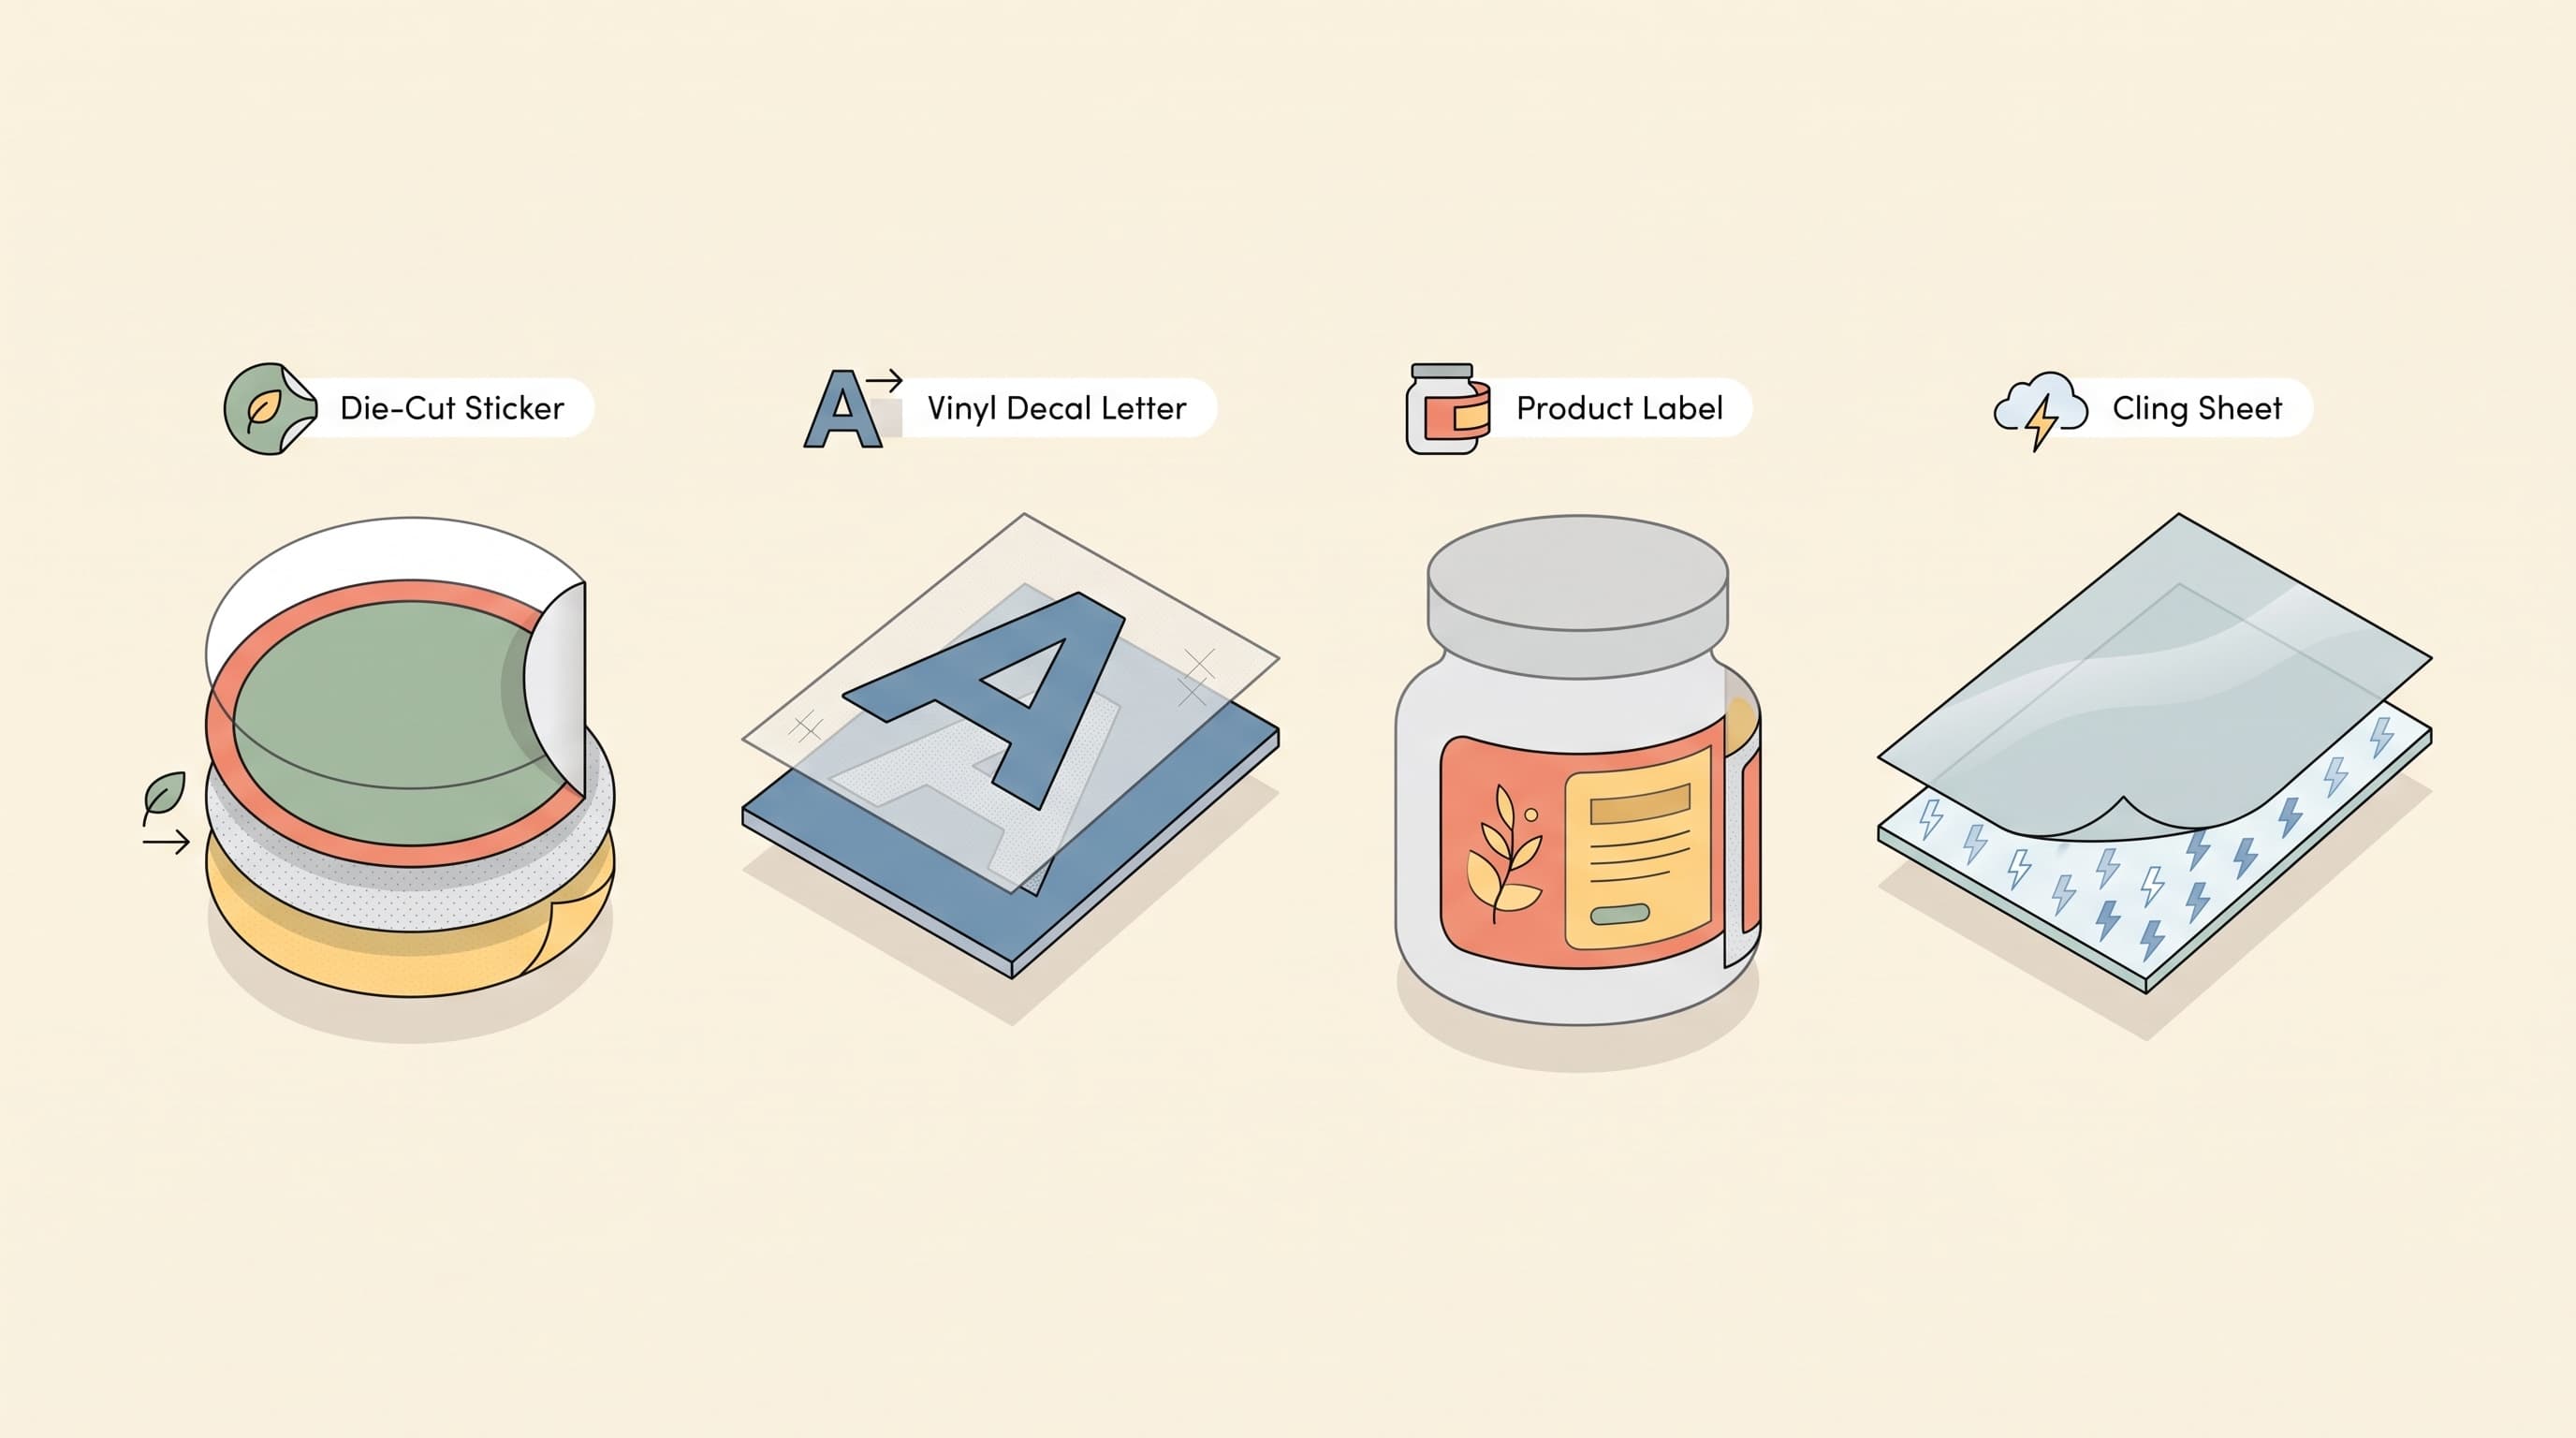
Sticker: small, adhesive, meant to be handled. Decal: vinyl applied to a fixed surface for the long term. Label: adhesive branding for a product, often supplied by the roll. Window cling: no adhesive at all — static holds it to glass, and it comes right back off. Same core materials, four different jobs.
The four terms, defined
We print all four of these in-house, and even we hear the words used interchangeably by customers all the time. They're related — most start as printed vinyl — but each one is built and sold for a different job. Here they are side by side before we get into the details.
| Term | Holds on with | Typically used for |
|---|---|---|
| Sticker | Permanent adhesive | Laptops, bottles, giveaways — small and handled |
| Decal | Permanent adhesive | Storefront windows, walls, vehicles — fixed in place |
| Label | Permanent adhesive | Product packaging — often supplied by the roll |
| Window cling | Static only, no adhesive | Glass you'll want to change or remove later |
What is the difference between a sticker and a decal?
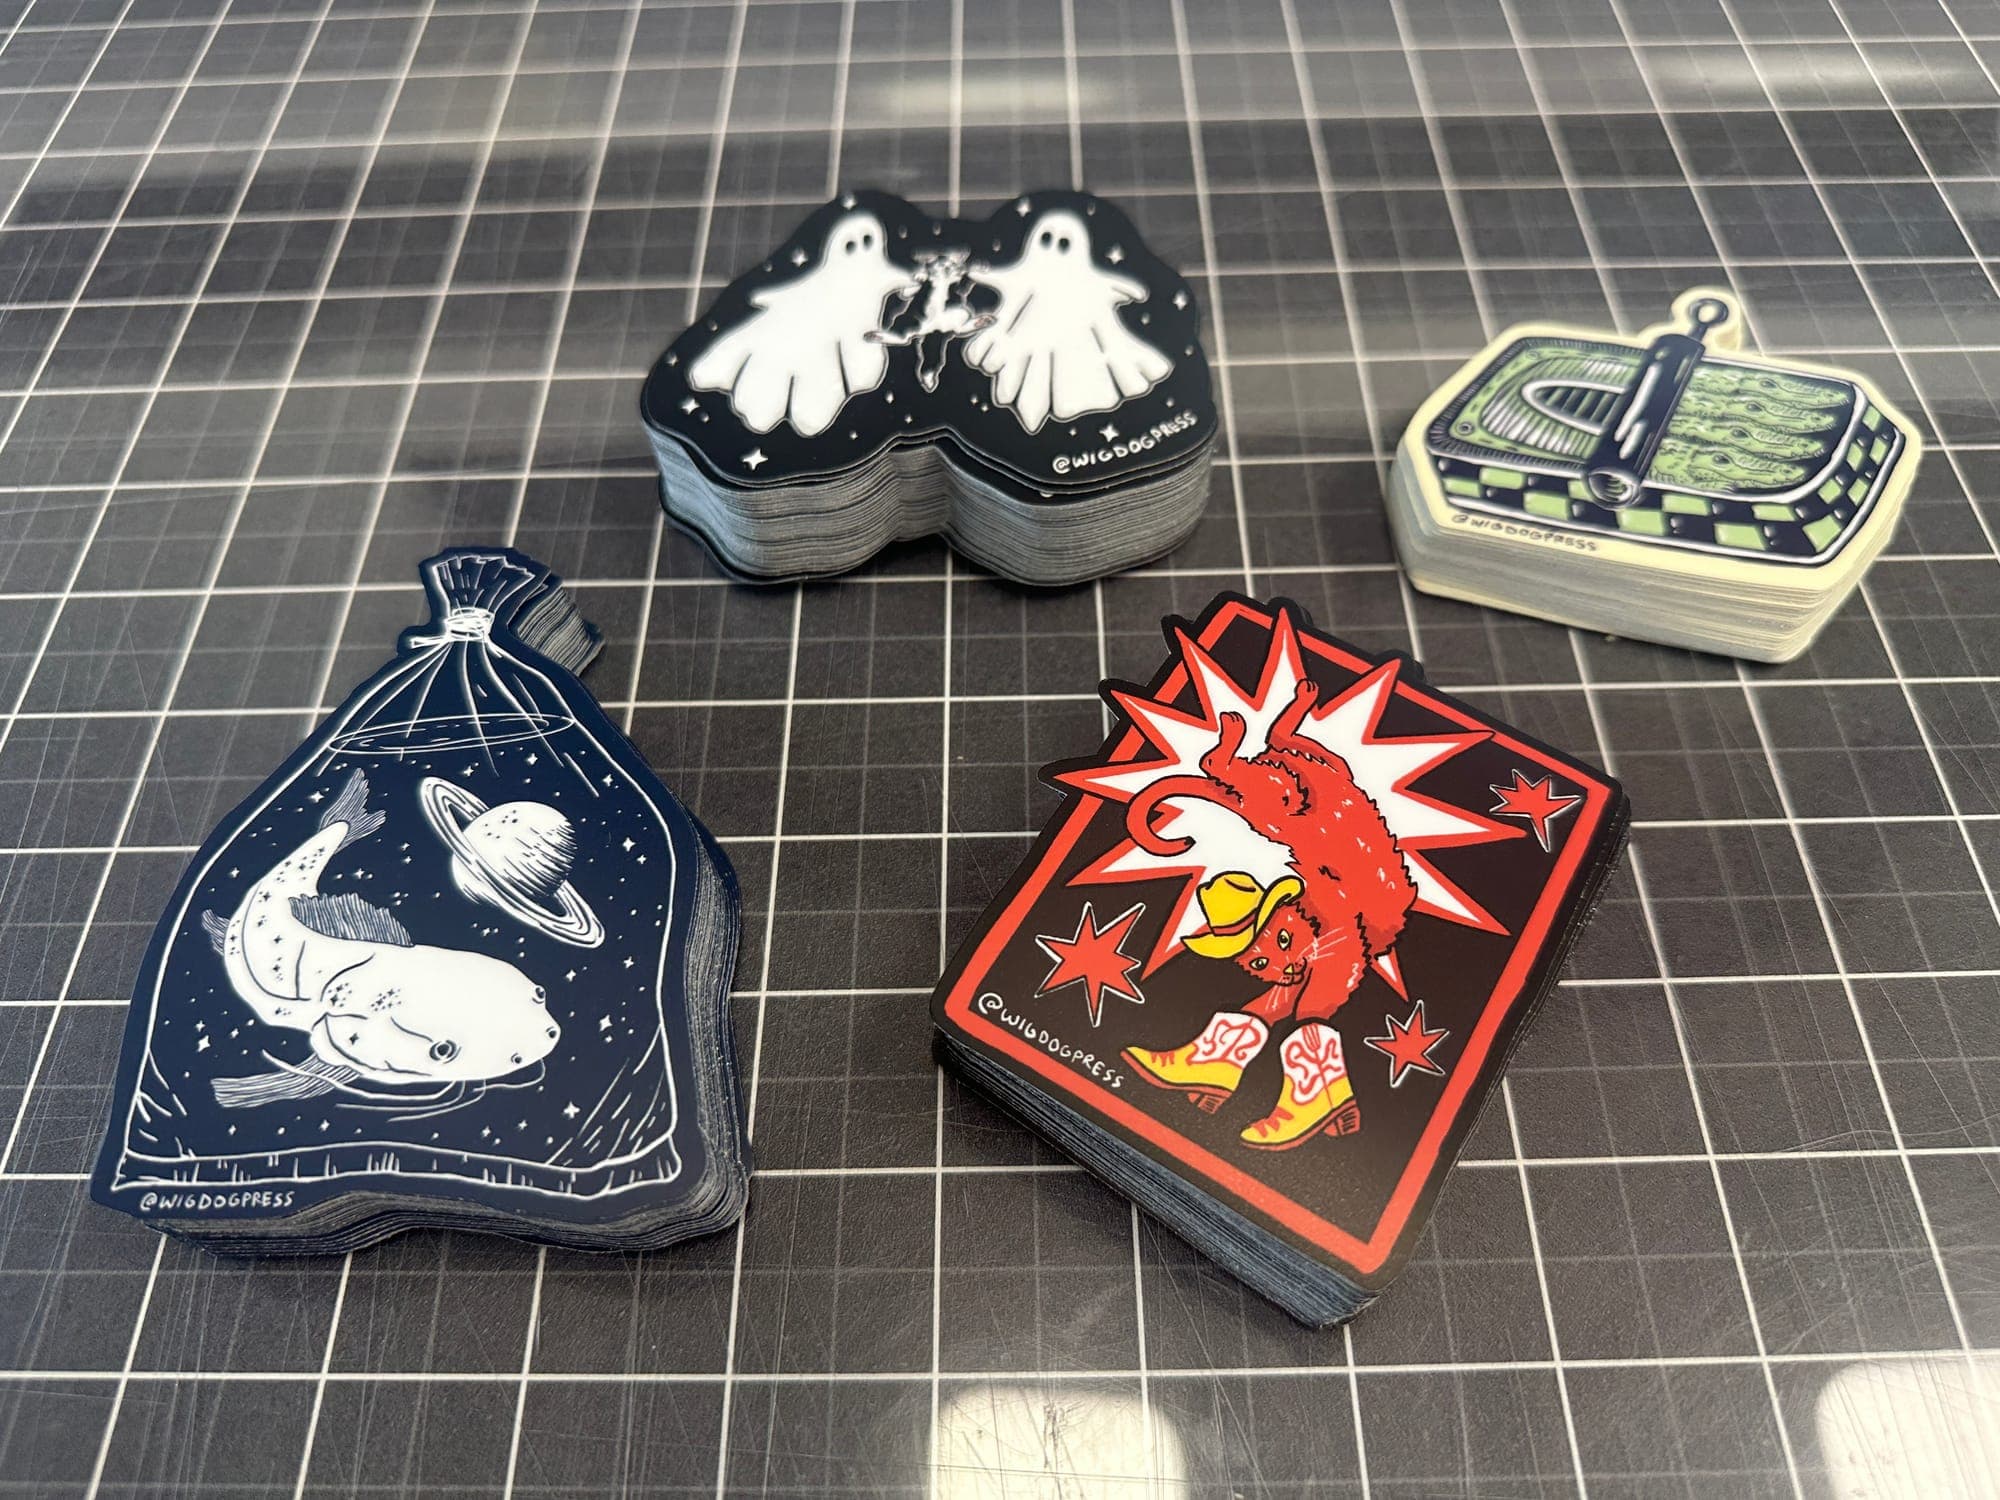
A sticker is printed vinyl with adhesive on the back, usually ordered small and meant to be picked up, moved around, and handed to someone else — a laptop sticker, a water bottle design, a die cut sticker you give away at a market table. A decal is vinyl cut to a shape and applied once to a fixed surface, usually bigger and meant to stay exactly where you put it — lettering on a storefront window, a graphic on a wall, a wall decal for a nursery.
The material underneath is often identical — same vinyl, same UV-laminated print. What changes is scale and intent: a sticker is a small object you interact with, a decal is an installation you look at.
What's the difference between a window cling and a window decal?
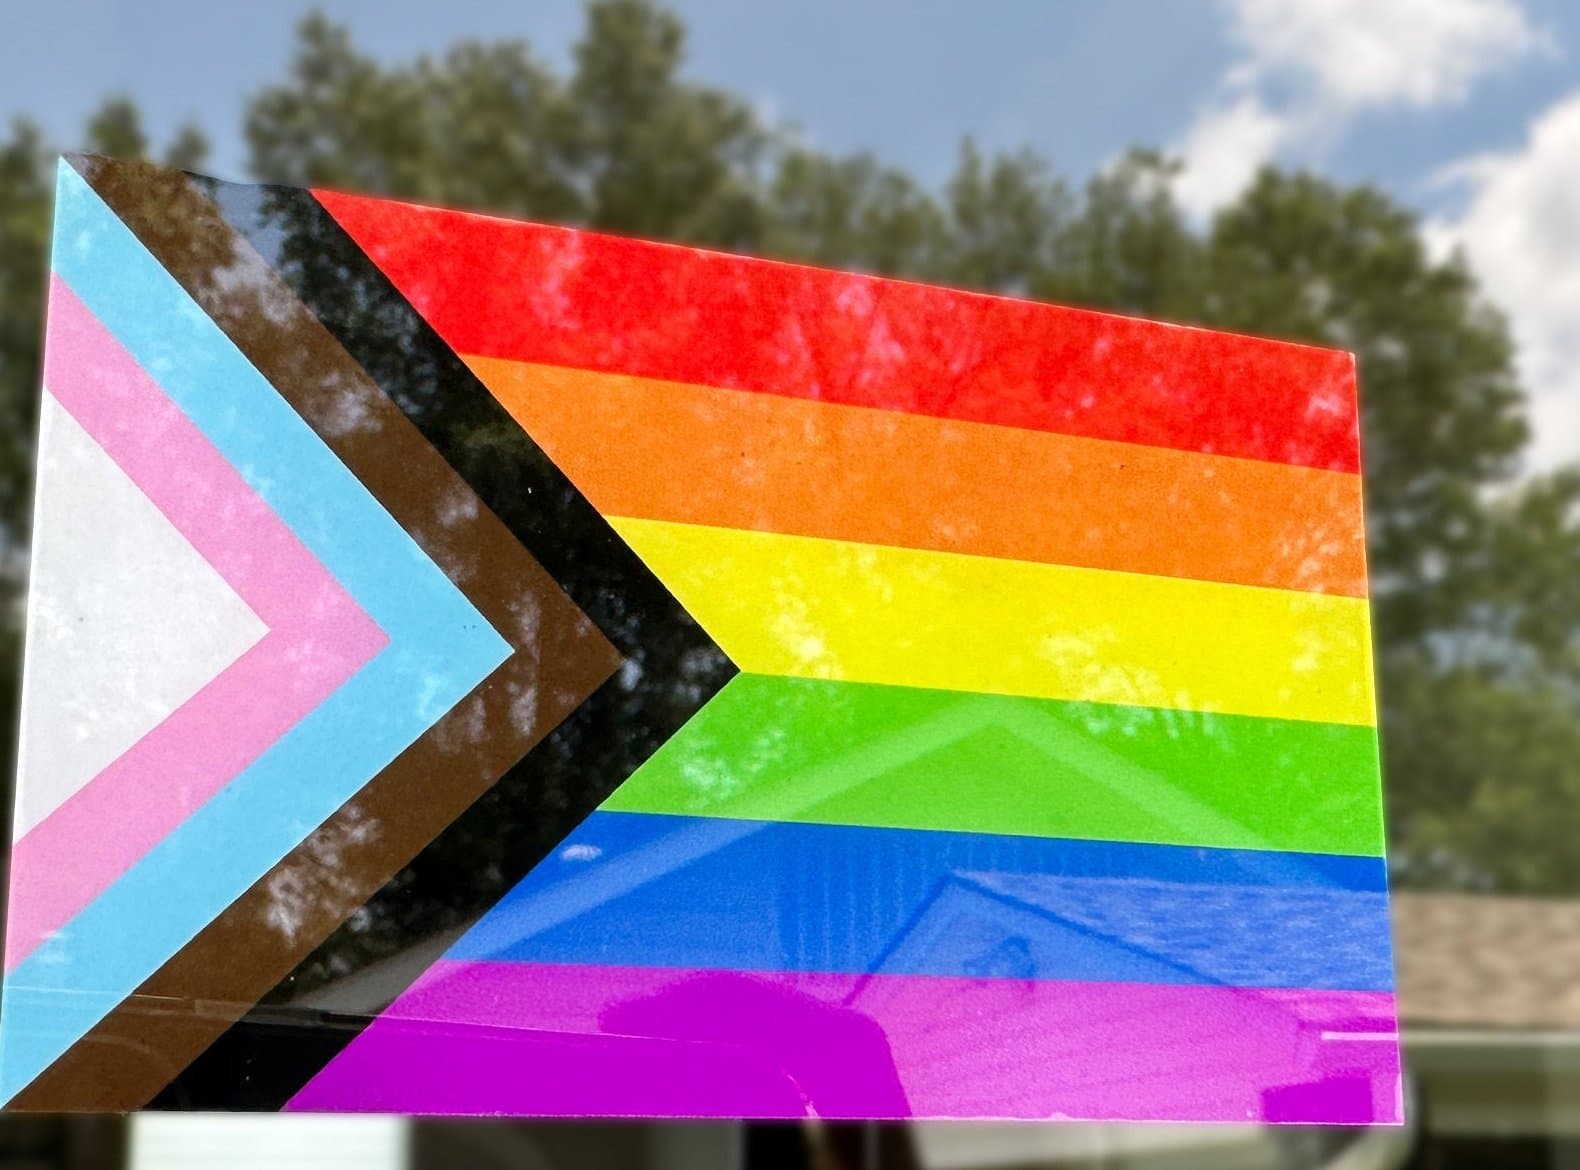
A window cling holds onto glass with static, not adhesive. Press it on, peel it off, and put it right back somewhere else — as many times as you want, with no residue left behind. That's the whole appeal: it's temporary and fully reusable, which is why our window clings are popular for seasonal displays, rental homes, and storefronts that swap promotions often.
A window decal uses real adhesive and is built to stay. It takes noticeably more effort to remove — often a blade and some patience — and can leave adhesive residue that needs cleaning up afterward. If you want something on the glass permanently, like business hours or store lettering, a decal is the right call. If you want the option to change your mind next season, a cling is.
What's the difference between a sticker and a roll label?
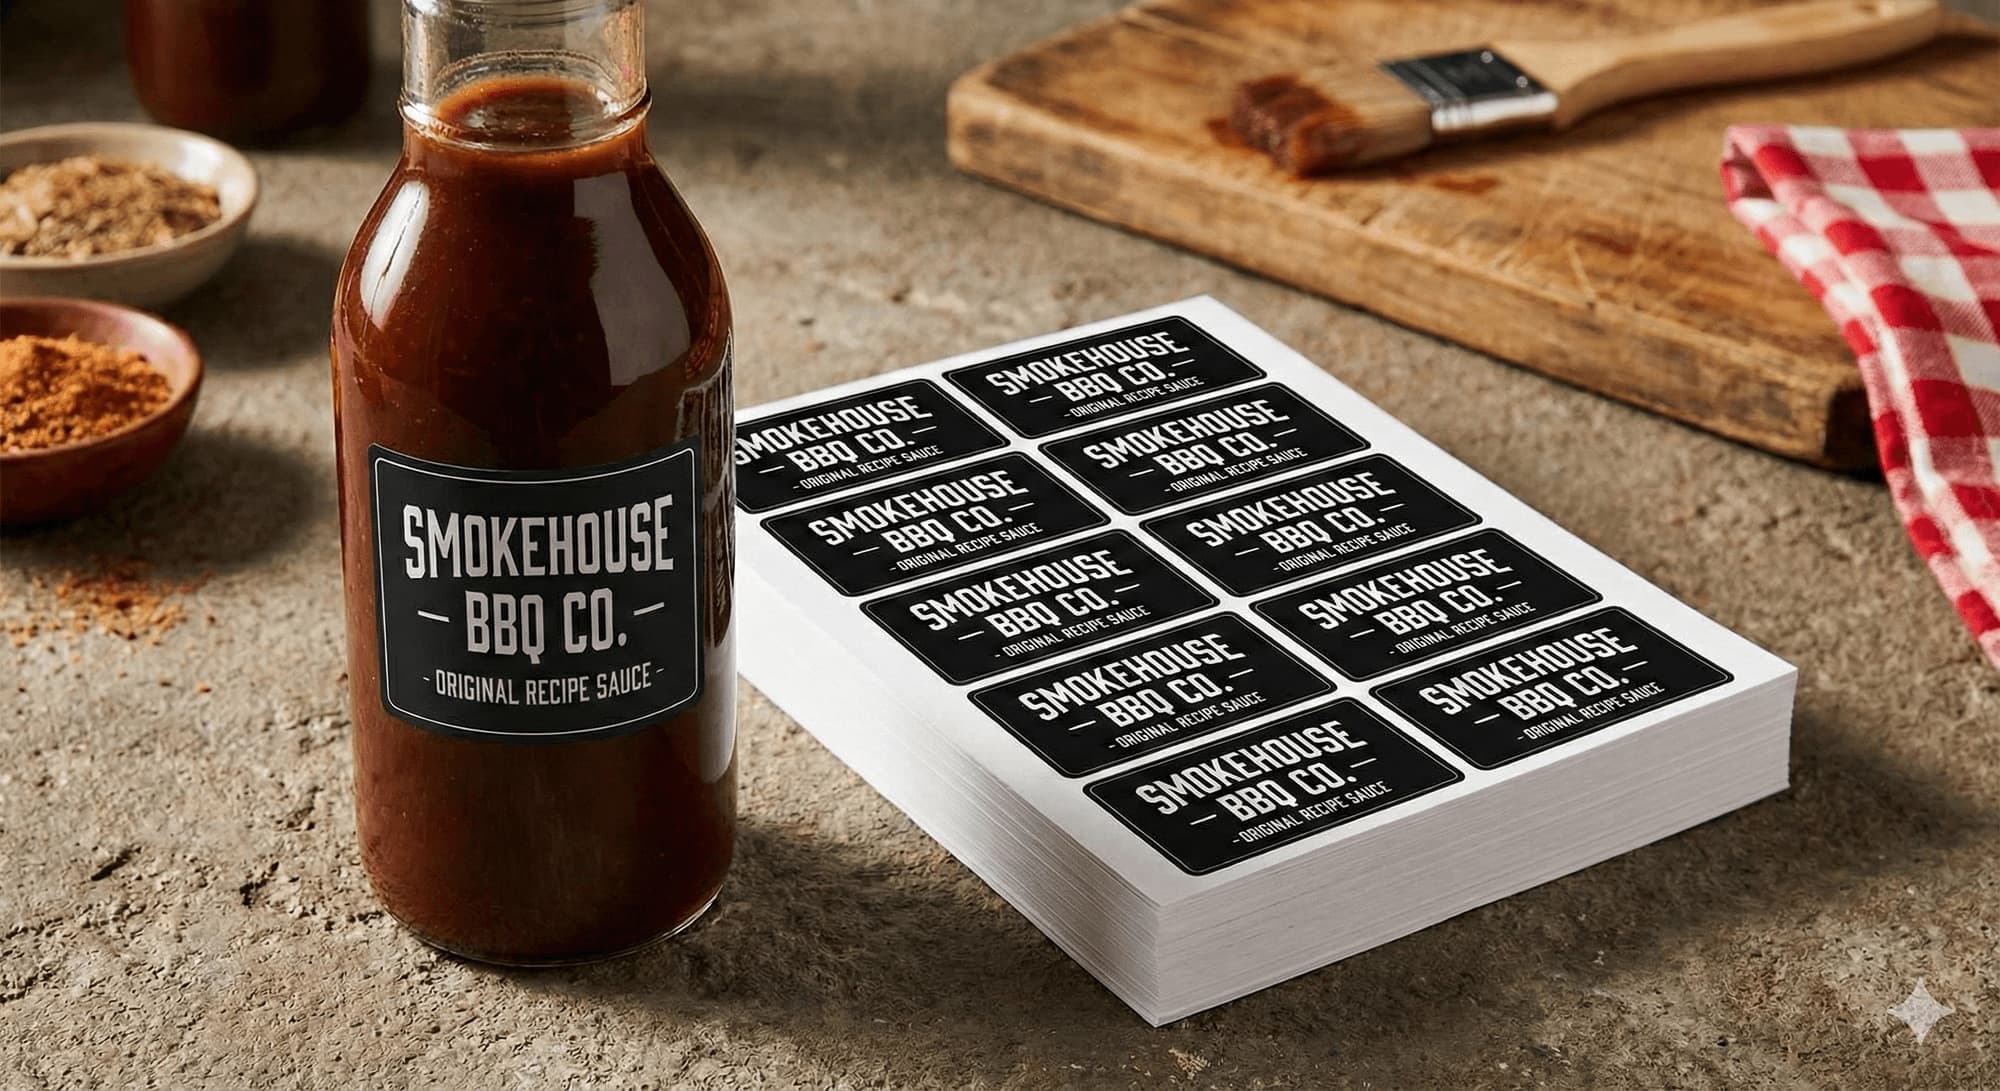
Underneath, a sticker and a label are the same thing: printed material with adhesive on the back. The difference is how they're supplied and used. A sticker is typically ordered as a single design in a small batch and applied one at a time, by hand.
A roll label is the same product wound onto a continuous roll, so it can be unspooled and applied fast — by hand off the roll, or fed through a labeling machine or dispenser for production runs. That's the right format if you're running labels through equipment at serious volume. We print custom product labels on sheets rather than rolls — simpler to order and apply for bottling, jarring, or packaging runs where you're labeling by hand. For a small batch or a one-off design, a sheet of labels is simpler and cheaper than setting up roll-fed equipment.
Do window clings work on car windows?
Not reliably. Static clings are built for flat, smooth glass, and most car windows have at least a slight curve — enough to keep a cling from sitting fully flush. The outside of a car window also takes wind at highway speed, rain, and regular car washes, none of which a static hold is designed to fight.
A cling can work fine on the inside of a car window in calmer conditions, similar to a home window. But for anything on the outside of a vehicle, an adhesive-backed vinyl decal or bumper sticker rated for outdoor use is the durable choice — save static clings for glass that stays out of the weather.
What is a transfer sticker and how do I apply it?
A transfer sticker (vinyl or full-color graphics available) isn't really its own product — it's an application method. Some people use "transfer vinyl" or vinyl lettering to mean the same thing, and single-color cut vinyl lettering is the classic example: cut vinyl with no backing sheet directly under the design, with a layer of transfer tape on top holding every letter in place as one unit. But we can transfer-apply full-color printed designs the same way — a logo or piece of artwork, printed in full color and cut to its exact shape, masked with transfer tape and applied in one piece. That's how a full-color business logo ends up cut to shape and stuck cleanly on a door, and it's also how multi-piece designs, like individual letters spelling out a word, get applied in perfect alignment in one step.
Applying one is a short, five-step process:
- Clean the surface. Dust, oil, and fingerprints all weaken the bond — wipe it down and let it dry fully first.
- Position the whole sheet. With the backing paper removed, place the design-and-transfer-tape layer where you want it and tack one edge down first.
- Burnish it down. Use a squeegee or a stiff card to press firmly over every part of the design, working outward to push out air bubbles.
- Peel back the transfer tape slowly. Pull it back on itself at a low, near-flat angle rather than straight up — this is what keeps every piece of the design on the surface instead of lifting back off with the tape.
- Go back over it once more. A final pass with the squeegee sets any edge that didn't fully bond during transfer.


Keep learning
Die cut or kiss cut sticker?
Once you know you want a sticker and not a decal, there's one more choice to make: how it's cut. Here's how to pick.
Read the guide